I'm very happy to report that we've been making some progress our project :) The house is coming together quite nicely so far.

First we dry fitted the shell of the house. Fits like a charm! We had to mitre the top sides so the roof will sit on the sides like it's supposed to. We also cut the roof to size and dry fitted it but I didn't snap any pictures of that.

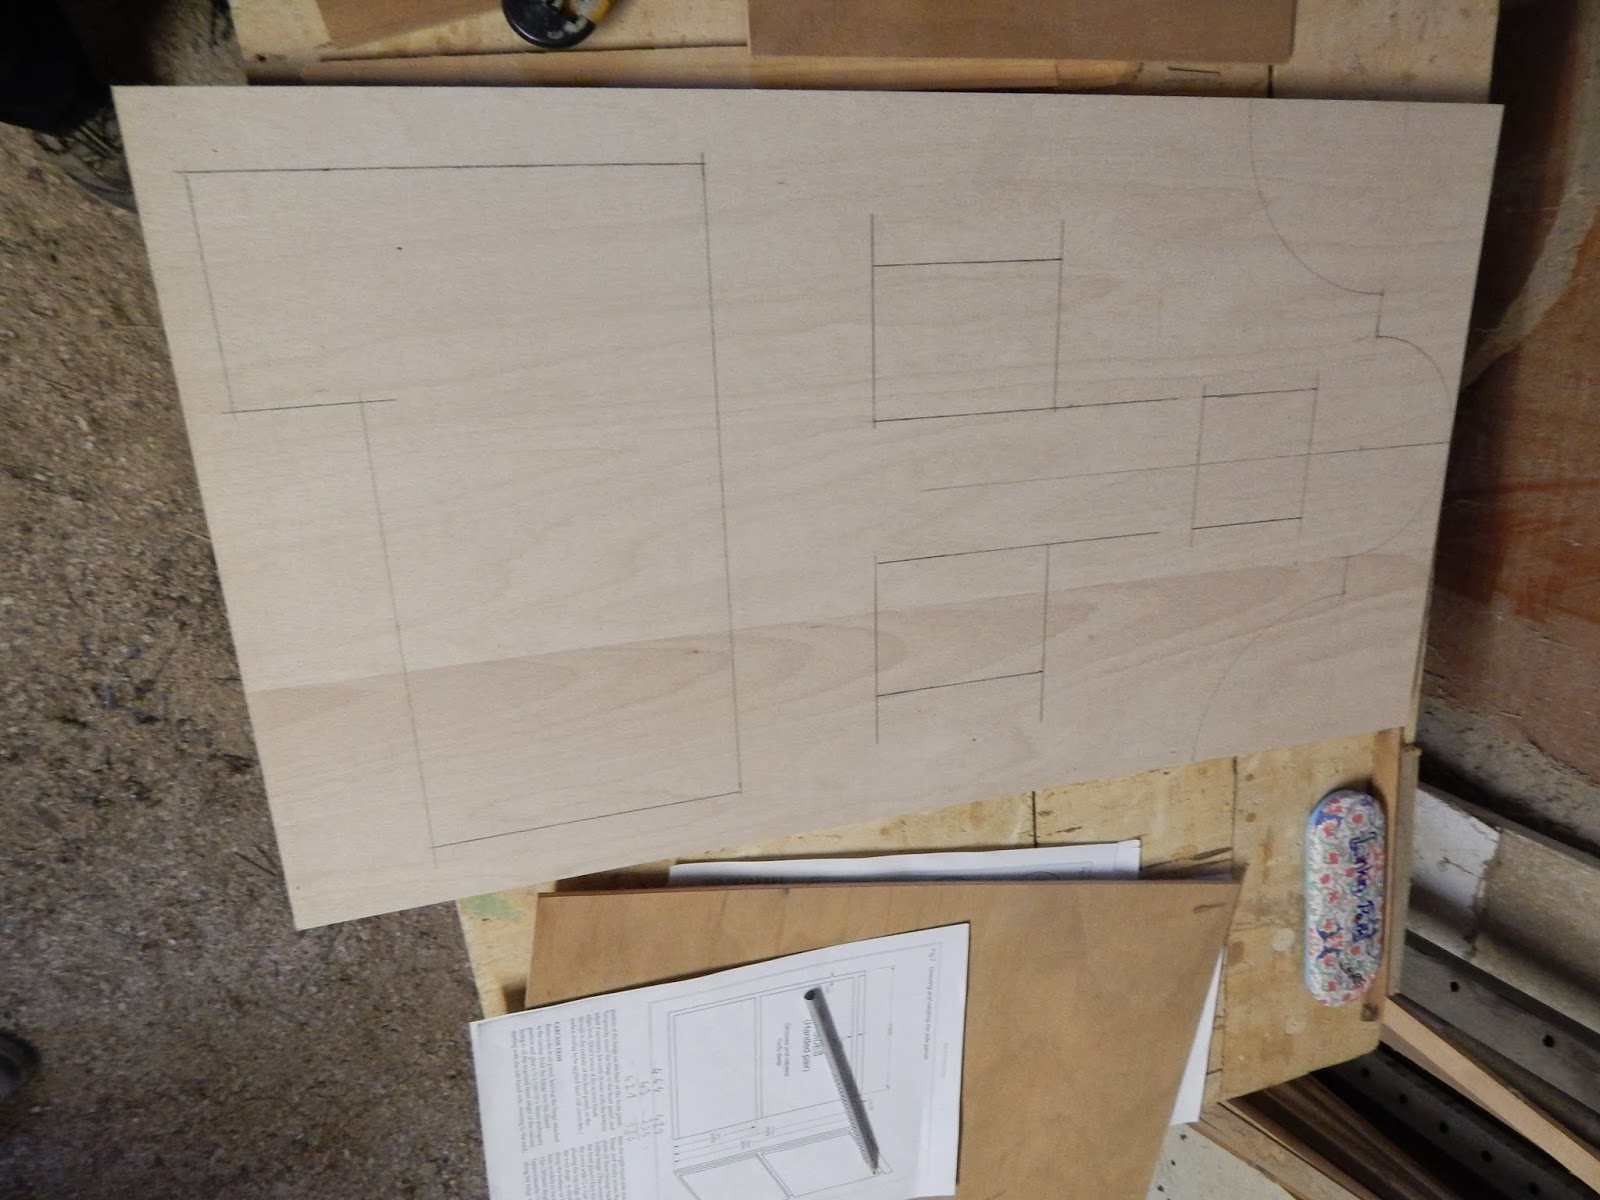
And the front facade. We cut out all the openings for windows and the front door plus the upper curves. I couldn't believe how it transformed everything! A few cuts and everything starts looking more and more like a dollhouse and less like a large wooden box.

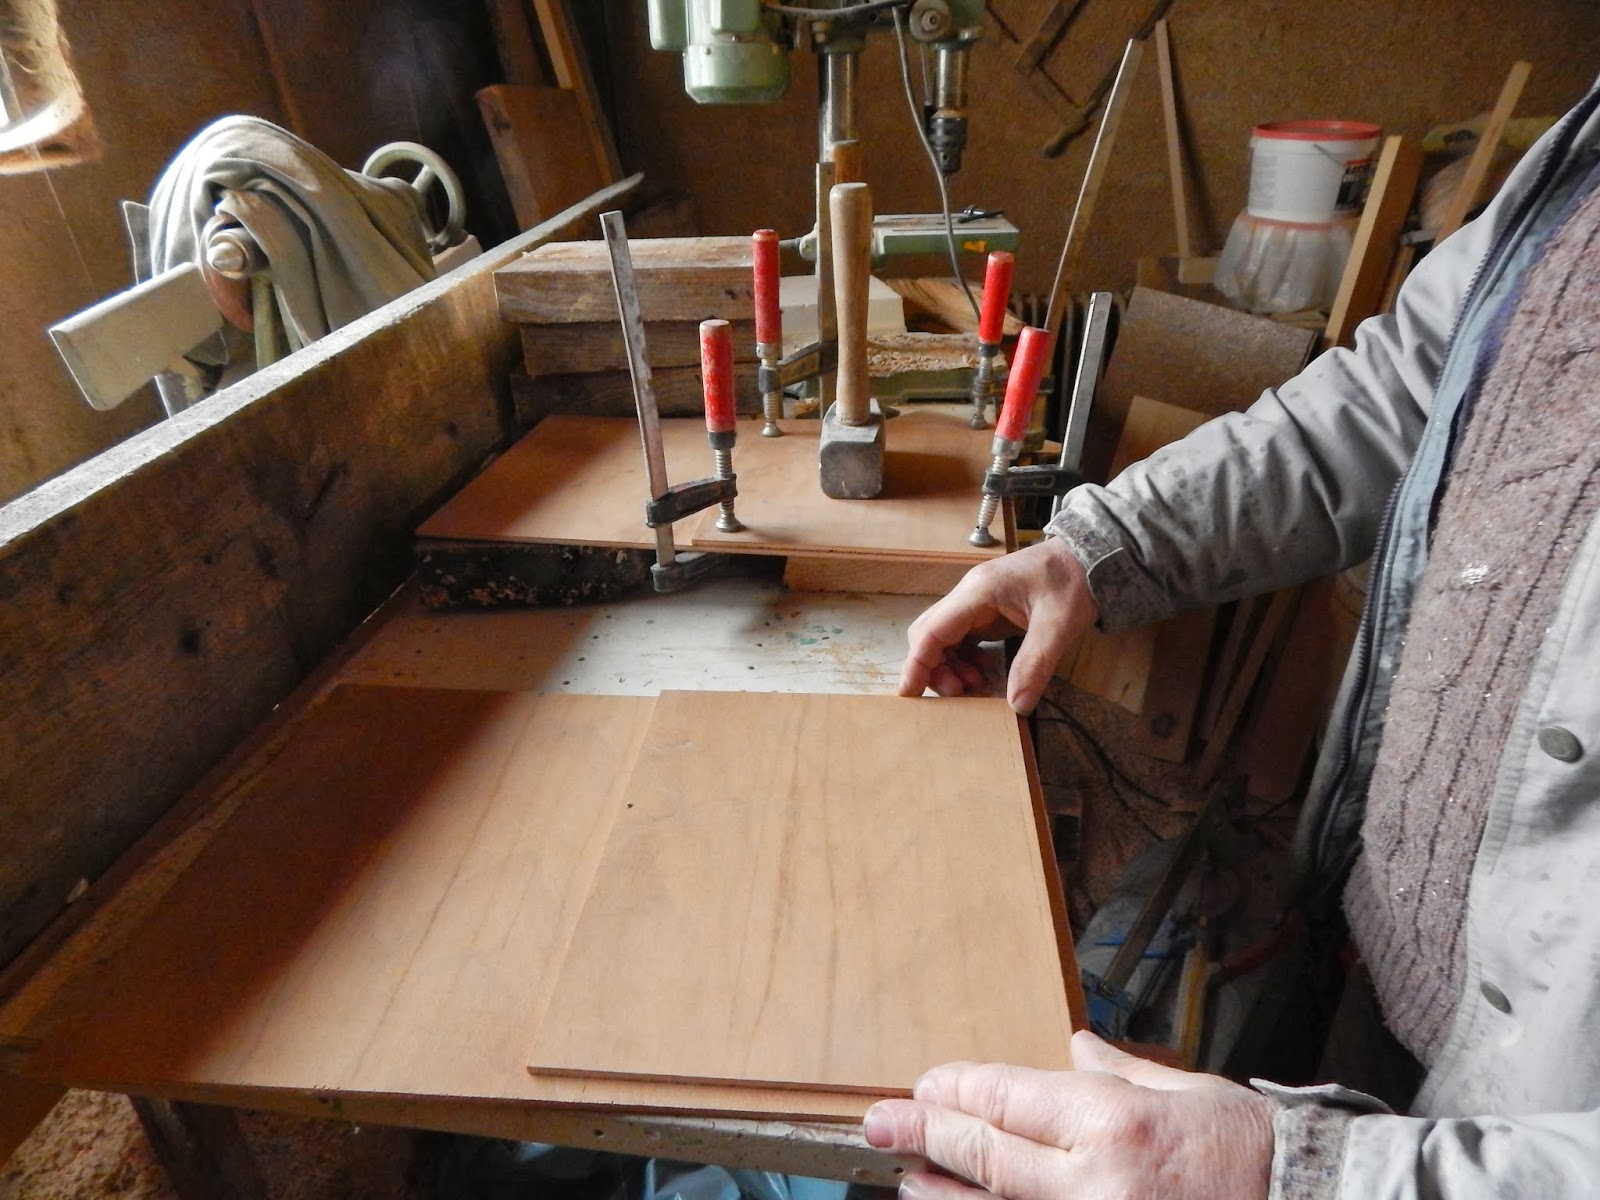
We glued and clamped each piece individually to the facade and had to wait for the glue to dry. Here you can see the bevelled edge for the lowest part of the shop. It turned out exactly as it should. We didn't have any problems with this one as it's quite thick and wide,

The shop window is getting it's form also.....
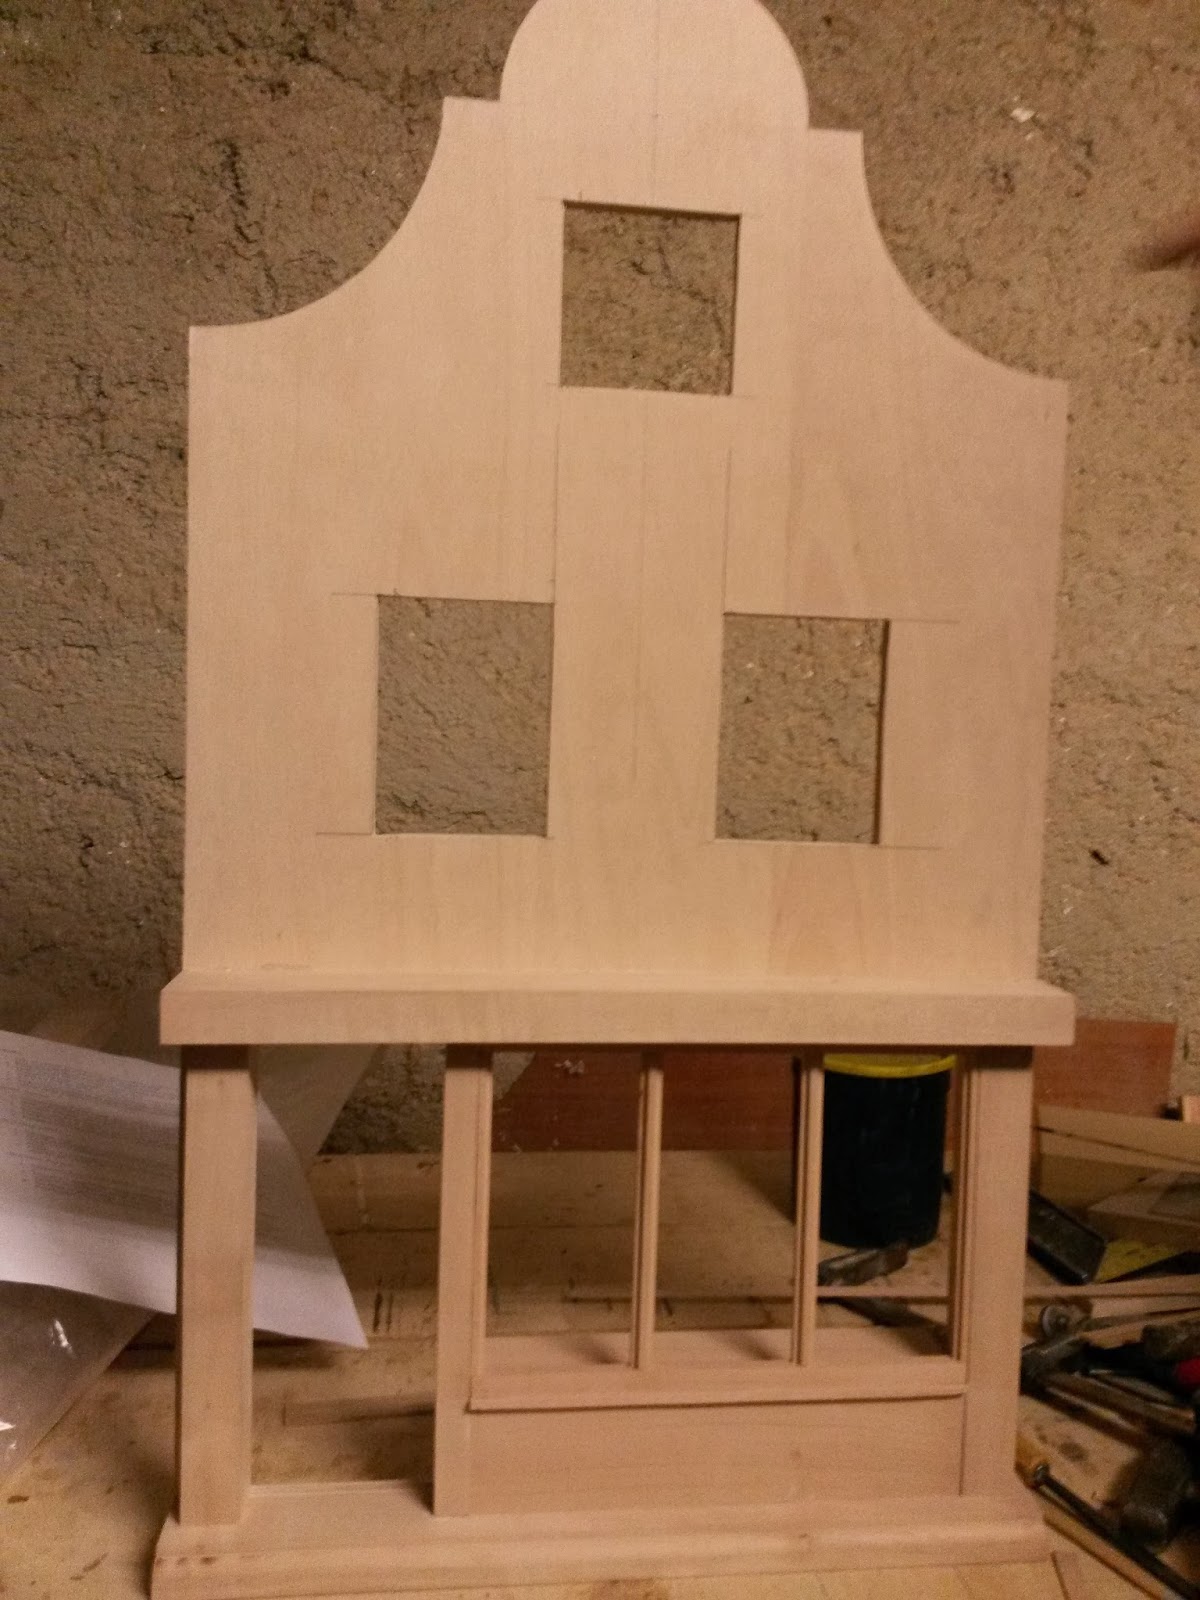
And here is the complete shop window. We added two types of bevelled wood for the frame of the window. I was a bit worried because these are quite narrow and there is only a few millimetres between each edge but with some trial and error we managed to figure these out too. The thing is that my dad only has router knives that are used in real life furniture and so we had to try a few of them to get the effect we wanted. Thankfully we can set the router to cut at any thickness and as far into the wood as we want. Although we still have to set it manually and sometimes that takes a few tries to get it right.

The door isn't finished yes but you can also see the foundations for the two pillars, one on each side. These will get a moulded piece glued on top of this piece so they will stand out even more.
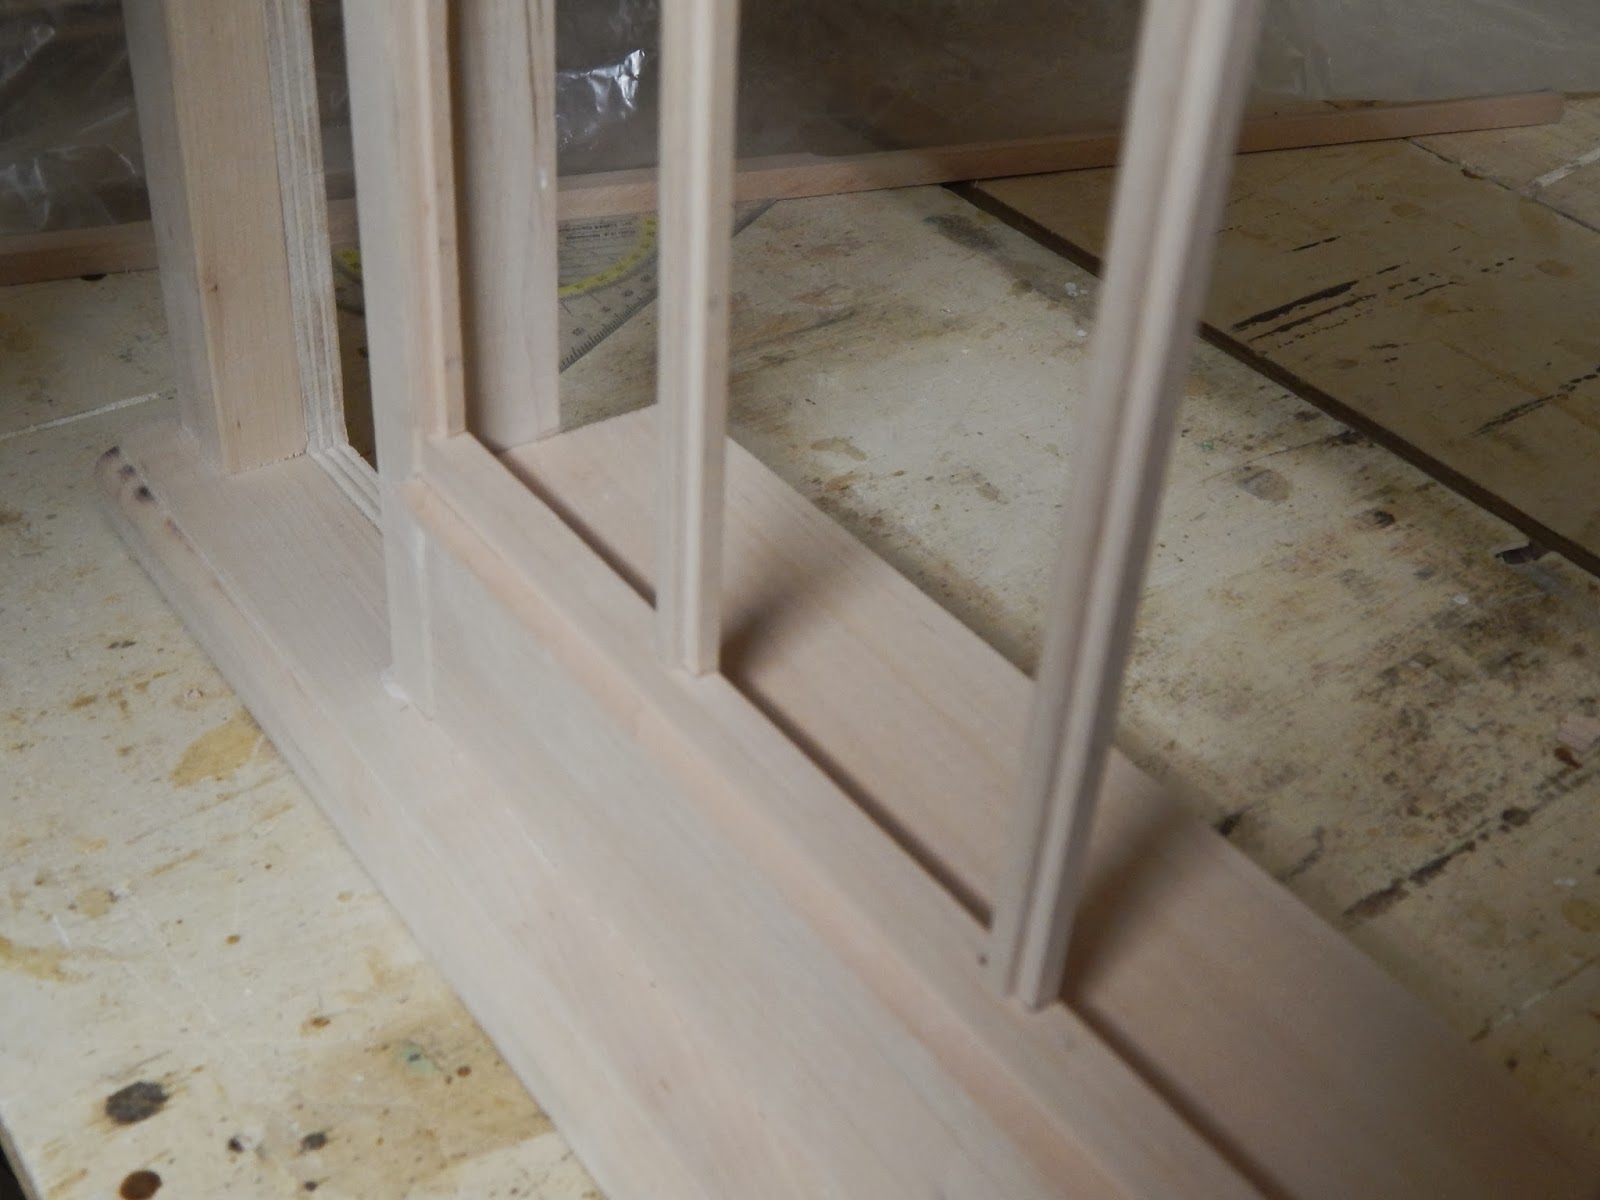
Here you can see a bit more detail to the window. I thought this was the hard part until we started working on the upper windows which require even thinner strips of wood. But more on that next time....
Today I finally found the right "plexi glass" for the windows. It's 2mm thick, just like the book says so I'm very excited. Now we need to cut that to size and try it on the windows. Can't wait!
Although now I need your advice my friends..... I have a very hard decision ahead. I need to think of what the shop will look like, at least from the outside. We can't start on the upper windows until I decide how I want the entire facade to look. I do know that the lower part of the house (aka the shop) will be a dark brown colour (an imitation of wood) after staining. Now I have to decide on the upper floor. I was thinking about a light cream or dirty white for the facade and the same dark brown for the windows. Also I have to figure out some way to make a slightly grouted finish like in real houses on facades. Any suggestions on that? I would love any and all advice you might have for me about the colour and the grouting, since I'm such a newbie at this.
Also, I still haven't decided what exactly I would like the shop to be. One option (which I'm leaning heavily to) is a Harry Potter/magical themed shop. This would mean turning it into a shop on both levels plus a little storage room in the attic. They would stock everything from Bertie Bott's Every Flavour Beans, cauldrons, dragon eggs to potions and herbs.
Another option is to turn the house into a general goods shop downstairs and have a small living room or bedroom upstairs. Although I don't like this idea as much.... But I would love to know what you think!
I think this is it for now. Between finishing my thesis, all the wedding planning going on and the lantern project from a few posts ago I think we're making good progress on the house. All in all it's been a productive few weeks.
Until next time!
*Poof*